2/22/2010

Apple Blintz Pancakes

Did you know last week was National Pancake Week? I didn't realize it until the weekend and so I decided to celebrate! I searched for something different and found an awesome recipe on myrecipes.com. They are blintzes, which means they are a thin pancake and are usually filled with something. They are right in between a pancake and a crepe. They were so good! I doubled the recipe and my family ate every last one of them. They were raving and raving about them throughout the entire meal. I will definitely be making these again soon!

Apple Blintz Pancakes

1 cup pancake mix
1 egg
1/4 cup cottage cheese
1 cup milk
1 Tbs. vegetable oil
1/4 cup sour cream
2 apples
applesauce
cinnamon

Whisk together the egg, cottage cheese, milk, oil and sour cream. Add in the pancake mix and whisk just enough to combine. Let the batter rest for about 5 minutes.

While the batter is resting, cut the apples into thin wedges. Spray a pan with cooking spray and cook them over the oven on medium. They will look like this at the beginning, so pretty...

Let them saute' for a while - keep turning them every couple minutes. Sprinkle cinnamon on top and cook them until you are happy with their texture. I wanted mine cooked well, but not completely soft. This is what mine looked like after cooking...


While the apples are cooking, spray a nonstick griddle or skillet and turn onto medium-high heat. Spoon about 1/3 cup of batter for each pancake onto the griddle. Flip over when bubbles rise to the surface and the edges look cooked.

Fill each pancake with a spoonful of applesauce and a couple of cooked apples. You will love them!


2/19/2010

Cream Puffs


I got this recipe from one of my best childhood friends, Cami. It is without a doubt one of my very favorite recipes. My family requests it all the time. My kids have asked for this a couple times instead of birthday cake. So, they get a really big puff with a candle! My oldest asked my mom the other day what her very favorite dessert was and she said these cream puffs. They are wonderful.

Cream Puffs

1/2 cup water
1/4 cups butter
1/2 cup flour
1/4 tsp. salt
2 eggs
1 package vanilla pudding mix
1 tub cool whip
chocolate chips

Pre-heat the oven to 400 degrees and grease a cookie sheet.

In a medium saucepan, combine the water and butter and bring to a boil over medium heat (like the first picture). Stir in the flour and salt, cook, stir well until mixture leaves the sides of the pan in a smooth ball (like second picture). Then remove the pan from the heat.

Add eggs one at a time, mixing very well after each addition until the mixture is smooth and glossy. It might take a minute, but it will get there. And if you triple the recipe like I always do - then you may have a little bit of a tired arm!

Spoon 6 mounds of the dough 3 inches apart onto the cookie sheet. I just use a large spoon and plop it onto the sheet. I like the puffs to be a little uneven, with personality!

Bake them for 30 minutes or until the tops are golden brown. Immediately prick them with a sharp knife to allow steam to escape - dont forget! Remove from the cookie sheet - I just always transfer them to another cool one - and allow them to cool completely.

Open up the top of the puff and if it is too dense, remove some of the inside dough (like the first picture). Prepare the vanilla pudding according to directions on the box and after it has set up, mix it with a tub of cool whip. Really, you should just lightly fold the two together or the mixture can become a little runny. Fill the puffs with the pudding mixture (like second picture!) I like to use the sugar free pudding and the fat free cool whip - you can't tell the difference and it makes me feel a little less guilty.


Put some chocolate chips into a microwavable bowl and melt them until smooth. I start with 30 seconds, then 20 and then do it in 15 second intervals until smooth. Coat the top of the cream puff with melted chocolate and allow them to harden up in the fridge.

We like to eat them by taking off the top and eating the chocolate part first. Who am I kidding, we like to eat them any way. Once, when we were newlyweds I doubled the recipe one Sunday afternoon and Pete and I ate all 12 of them. It was a great Sunday.

2/12/2010

Peanut Butter Bars

I had to make a treat for pre-school today and decided to make these bars I saw on Allrecipes. They are no-bake, peanut butter, graham crackers & chocolate - all my favorites! Oh my gosh! They are so yummy. I have made peanut butter bars before and these are definitely the best I have ever made. They are thick and dense and have just the right amount of peanut butter taste, not too overpowering. I need to get them out of my house quickly.

Peanut Butter Bars

  • 1 cup butter or margarine, melted
  • 2 cups graham cracker crumbs
  • 2 cups confectioners' sugar
  • 1 cup peanut butter
  • 1 1/2 cups semisweet chocolate chips
  • 4 tablespoons peanut butter

  • In a medium bowl, mix together the butter or margarine, graham cracker crumbs, confectioners' sugar, and 1 cup peanut butter until well blended. Press evenly into the bottom of an ungreased 9x13 inch pan.

  • In the microwave, melt the chocolate chips with the peanut butter, stirring occasionally until smooth. I started with 30 seconds, mixed and then cooked at 15 seconds intervals until melted and smooth. Spread over the prepared crust. Refrigerate for at least one hour before cutting into squares.


Give them a try and see if you can stop eating them!

2/08/2010

Baguette

My sister gave me this recipe the other day and told me how easy it was. If she hadn't already made it and liked it, I would have been skeptical. She told me you make it in 5 minutes, let it raise for 30 and then bake it for 15 minutes. It just seemed to easy and good to be true. I was really excited to try it!

My baguette turned out so yummy! In fact, my children were HUGE fans of it. One of them even told me it was "The best bread I have ever had." Maybe a little bit dramatic, but I will take it! We had it for dinner and then I made the kids their sandwiches on it for lunch the next day. I will for sure be making this more & I think I will be teaching my 10 year old to make it. It really is that easy!

Baguette
1 1/2 cups warm water
1 1/2 Tbs. (2 packages) dry yeast
2 tsp. sugar
3 1/4 cups flour
2 tsp. salt

Pre-heat oven to 450 degrees. In a small bowl mix 1/2 cup of the water with the yeast and 1 tsp. of sugar. Mix it well and cover with a cloth.

In a large mixing bowl combine the flour, salt and 1 tsp. sugar. When it is mixed well, add the yeast mixture. Gradually add the rest of the water. Mix until the dough becomes a smooth ball.

Remove from the bowl and knead the dough, cut in half and then shape into 2 baguettes. Take a knife and core down the middle - that makes it authentic! You can see, mine aren't too fancy.

Cover and let it rise for 30 minutes.

Put water in a cookie sheet and put it on the bottom rack of the oven. Bake the bread for 15 minutes. Half way through, brush the bread with butter.


I really like the recipe for its low sugar content! You could try it with wheat flour also. Enjoy!

2/03/2010

Snickerdoodles


I love these cookies. I could (& do) eat them all day long! These were the first cookies I made by myself. I was in the 4th grade and was so proud of myself. They are super easy to make and you will love them too!

Snickerdoodles

1 cup shortening
1 1/2 cups sugar
2 eggs
2 3/4 cups flour
2 tsp. cream of tartar
1 tsp. soda
1/2 tsp. salt
2 tbs. sugar
2 tbs. cinnamon

Preheat the oven to 400 degrees. Combine the sugar and eggs. When you are done add the flour, cream of tartar, soda and salt and mix well.

In another bowl combine the sugar and cinnamon and set aside. Form the cookie dough into little balls and then roll them in the cinnamon/sugar mixture.

Bake them for 8-10 minutes - don't overbake! They will stiffen up on the cookie sheet - I always bake them for the least amount of time possible. And I always double the recipe! You will be proud of yourself after you make them too!

1/25/2010

Burger Cake


I would LOVE to take the credit for this cake...but I can't. My husband made it. Seriously, he did. One thing a lot of people don't know about him is how good he is in the kitchen. He can make anything I can and sometimes he can even do it better.

My son had a scout dinner the other night & they had to make a cake with their dads. I found instructions for this one on the Betty Crocker website with complete instructions. He modified it a little after reading some of the reviews and it turned out amazing!

Big Burger Cake

1 box white cake mix
1 box brownie mix
Strawberry jam
sesame seeds (or poppy seeds)
Piped green frosting
licorice strips

Creamy Peanut Butter Frosting
3 cups powdered sugar
1/3 cup peanut butter
1/3 cup milk
2 Tbs. unsweetened baking cocoa

Make the white cake according to the box directions and bake in two 9 inch rounds. Make the brownie according to the box directions and bake it also in a 9 inch round.

Cut the top off of one of the cakes to resemble the bottom "bun". Pipe green frosting around the edge to look like lettuce and then set the brownie on top of the frosting. Spoon strawberry jam around the top edge of the brownie all the way around. Don't skimp, you want the jam to spill over the edges and look like ketchup! Fold a licorice strip in a U shape and press into the top of the brownie to look like a tomato. Then you can put the other white cake on top!

In a medium bowl mix the powdered sugar and peanut butter, then stir in the milk until smooth and spreadable. You may need to add a little more, just do it a tsp. at a time. Frost the outside edges of the bottom "bun" and then frost the entire top cake. Sprinkle with the sesame seeds!

My son was looking at the cake when it was done and said it needed some french fries. He decided to cut up the discarded cake from the bottom bun into little fries and it looked great! What a smart guy! He and his dad just added some more jam for "ketchup" and it was complete. So, next time you need a fun cake give this one a try!

1/14/2010

turkey meatballs & spaghetti


We have been trying to eat well and exercise everyday in this house. Last year Pete and I followed the Body for Life program and felt great. It was easy to do and we both felt like we weren't giving up anything. We loved how much we could eat and how we were still reaching our goals. So, for Christmas this year one of Pete's presents was the "Eating for Life" cookbook. It is fantastic!

This book comes with amazing tips, recipes and beautiful pictures. And the best part - all of the recipes are made with NORMAL ingredients you would find in your home! Ok, there might be an occasional new spice, but it is not anything you wouldn't like to add to your spice rack. It is exciting for me to find a book I can cook from and know I am feeding my family healthy meals!

Last night I made the recipe titled "Spaghetti and meatballs." I had to really read into the ingredients because I am not a meatball fan. I decided to try this one anyway...I had all the ingredients. Oh my gosh! This was so good! All of my kids had seconds and I liked it so much I ate two of the meatballs for breakfast...cold! YUM!

Turkey Meatballs & Spaghetti (from Eating for Life)

1 lb. lean ground turkey
2 egg whites
1/2 cup dry breadcrumbs
1/4 cup water
1/2 onion, finely chopped
2 cloves garlic, minced
1/4 cup fresh parsley, minced
2 tsp. dried basil
1 tsp. ground black pepper
3 cups low-fat marinara pasta sauce
12 oz. spaghetti
1/4 cup reduced-fat parmesan cheese

Preheat oven broiler.

In a large mixing bowl, combine turkey, egg whites, breadcrumbs, water, onion, garlice, parsley, basil and black pepper. Mix ingredients thoroughly and the shape into 1 1/2 inch diameter meatballs.

Arrange meatballs on a baking sheet and place under broiler for 10-12 minutes (I did a little longer - phobia about under-cooked meat!), turning occasionally until they are browned on all sides.

While the meatballs are in the broiler, prepare spaghetti according to its package directions.

Place a portion of spaghetti on each plate, cover with a portion of meatballs and pasta sauce. Serve and enjoy!

1/13/2010

Rotisserie Chicken Taco Soup

I bought a rotisserie chicken at Costco for dinner the other night and had a lot leftover. So, I came up with this soup to use up all the good chicken I had left! It was a big hit with my family!

Chicken Taco Soup

Rotisserie chicken - shredded (as much as you like!)
1 tbsp. olive oil
2 cups chicken broth
2 cups water
1 package taco seasoning (or 1/4 cup)
1 tsp. ground cumin
1 1/2 tbsp. red taco sauce
6 oz. can tomato paste
1 cup diced onion
1 cup diced celery
1/5 cups frozen corn
cheese
avocado slices
cilantro
tortilla chips

Take the shredded chicken and heat it up in a skillet. Add the taco seasoning to the chicken and stir until it is well coated. Allow the chicken to heat all the way through and then set aside.

Add your onion and celery to a soup pot with a tiny bit of olive oil and heat on low for a couple of minutes. You want the onion to be soft and translucent. When it is done, add the chicken broth and water to the pot. Then you can add the rest of the ingredients.

Add the chicken to the pot and cook the soup on low for about 20 minutes. So easy! You could do this in the crock pot also & could add more flavors (beans, rice...). Next time, I will add some fresh lime... so many options. We topped ours off with cheese, avocado, tomato, cilantro & chips. Yum!

1/06/2010

Caramel Corn

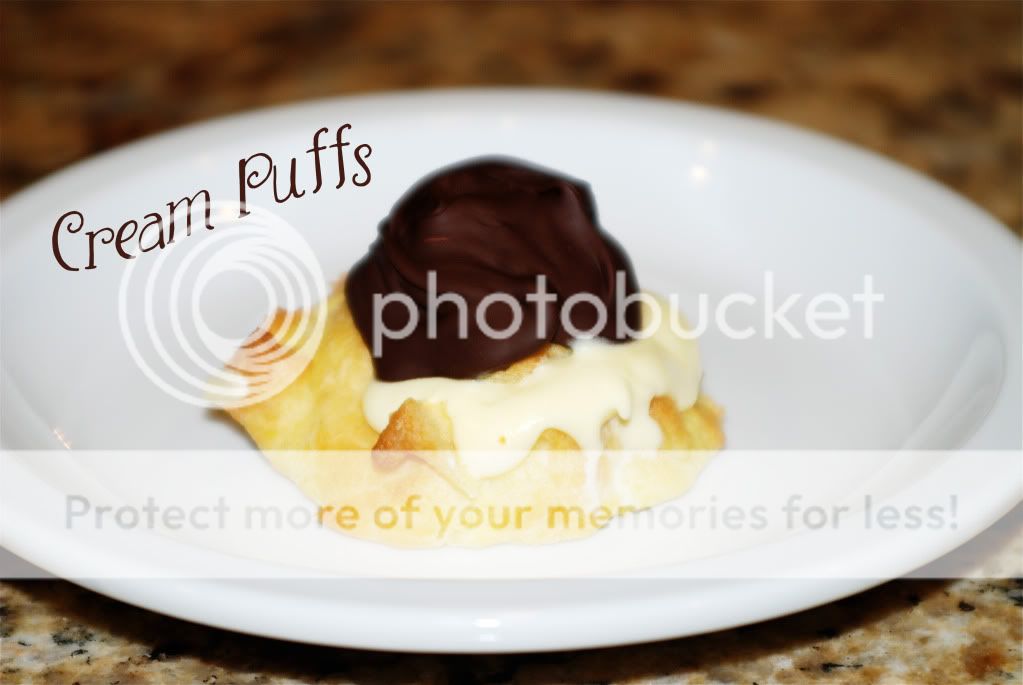
This is one of my mom's recipes and has always been a favorite of mine. I have a love of popcorn and have some almost every night. Sometimes it is fun to add a little sweet with the salt! This recipe is really fun because you can make it chewy or a little bit crunchier. I always opt for the chewy caramel corn!

Caramel Corn

Enough popcorn to fill two 9x13 pans when popped
1 cup brown sugar
1/2 cup butter
1/4 cup light corn syrup
1/2 tsp. salt
1/2 tsp. baking soda

Pre-heat your oven to 200 degrees. Heat the sugar, butter, corn syrup and salt in a saucepan until it is just bubbly around the edges. Cook over medium heat for five minutes, do not boil. It should look just like this...isn't the color amazing!


Remove it from the heat and stir in the baking soda. This is when the fun happens! While you stir the color will lighten and it will become foamy. Caramel magic.


Pour the caramel over the popcorn and stir. If you want chewy popcorn then it is ready after you mix. At this point you can mold it into fun shapes also. If you want it a little bit crunchier, then bake it for about 15 minutes in the pre-heated oven.


You will love it! It makes a great treat - especially for Home Movie night!

12/03/2009

My favorite Cornbread


I love a good piece of warm cornbread! Doesn't it sound so yummy on a cold night, with some soup or crock-pot meat. I like it best when it is almost cake-like in texture and feeling. I am not a big fan of cornbread with a real cornmeal texture. I want it to be blended in and taste moist and fluffy! This recipe is just what I like.

My favorite Cornbread

1 cup cornmeal
3 cups flour
1 1/3 cups sugar
2 Tbs. baking powder
1 tsp. salt
2/3 cup oil
6 Tbs. melted butter
4 eggs
2 1/2 cups milk

Preheat your oven to 350 degrees. Mix the cornmeal, flour, sugar, baking powder and salt together in a big bowl. Make a well in the center of the dry ingredients and add the oil, butter, eggs and milk. Stir until it is just mixed. Bake in a 9x13 pan for 35 minutes.

Eat with lots of butter and honey. Enjoy!!