Showing posts with label bread. Show all posts

7/06/2010

Best Cinnamon Rolls!

I started making cinnamon rolls when I was 15. I got a job at a little bakery and learned how to make them from scratch. They are great and I haven't wanted to try any other recipe until I found the Pioneer Woman blog. Her cinnamon rolls are her top rated recipe and they get such great reviews. I knew I had to give them a try.

So, for Fathers Day I made them & I love them. I don't know if I can go back. They are amazing. They make A LOT of rolls, I made 6 tins full (I froze 2 for later.) The dough is light and just melts in your mouth. The frosting is what made it absolutely sinful. I felt like I had made the best donuts ever, it tasted just like donut maple frosting.

It is nice also because you make the dough the night before and then roll them out in the morning. It took me about an hour and a half in the morning from start to bite! I will be making these many more times & can't wait to try them out of the freezer!

I am linking to Pioneer Woman for this recipe. She has amazing step-by-step instructions for you! The only difference I made was not adding the coffee in the frosting, it didn't need it!

Best Cinnamon Rolls Ever!

Pioneer Woman Recipe
Yum!!
Don't they all look pretty!!

Don't skimp on the frosting!!

6/02/2010

Easy Breadsticks


I am not quite sure what to think about the weather lately! I keep having to move the kids clothes around in their closets - short sleeves one day and then long the next. Last week it was actually cold and rainy, when last year at this time it was 100 degrees!

It made me in the mood for some soup and bread. I had stumbled upon a new breadstick recipe that looked quick and good, so I thought I would give it a try. My family LOVED them! And they were honestly the easiest bread recipe I have ever made. You don't have to wait for them to rise and you don't even have to roll them out. I found them at here at Jamie Cooks it up - she has a lot of great recipes!

Easy Breadsticks

1 1/2 C warm water
2 T sugar
1 T yeast
1/2 t salt
3 1/2- 4 C flour
1/4 C butter
3/4 C grated Parmesan or mozzarella cheese
Johnny's Seasoning Salt

Mix the water, sugar and yeast together in a measuring cup or in the bottom of your mixer. Let it sit for 5 minutes until it is all foamy.

Add the salt and the flour, one cup at a time, until it is well incorporated. Mix on high for 5 minutes. Let the dough rest for 5 minutes longer.

Melt the butter and pour half of it onto a large cookie sheet. Place the dough in the center of the pan and let it sit for another 5 minutes so it is easy to shape.

This is the best part! Just spread the dough out flat onto the pan with your fingers until it reaches all of the edges. No rolling necessary.

Pour the other half of the butter onto the breadsticks. Use a kitchen brush or your fingers to spread it evenly over the top. Sprinkle with your favorite garlic spread - I used Johnny's Seasoning Salt - it has a yummy flavor and isn't too heavy on the garlic. Then sprinkle with fresh Parmesan or mozarella cheese. I also made one pan without any seasoning and it turned out great too!

With a pizza cutter cut the dough into your breadstick shapes. Put the pan into a 170 degree oven for about 7-10 minutes. The breadsticks should rise about 1 inch. Turn you oven up to 350 and bake for about 12 minutes, or until golden brown.


They are great warm out of the oven & cold the next day. I have a feeling I will be making these a lot!

5/12/2010

Orange Oven French Toast

This is what I woke up to on Mother's day. Yes, my hubby is awesome. He is a great cook and specializes in breakfast food. For some reason he can flip a pancake way better than me! He did such a good job with this breakfast, especially since we had to be to church at 8:30 in the morning!

This meal is made the night before and then put in the fridge until baking, so those busy mornings are made a little easier. I love it because you get a pan full of french toast all at once so the family can actually eat together! They are so good and have a light orange flavor.

Orange Oven French Toast

1/2 cup butter, melted
1/4 cup honey
2 tsp. ground cinnamon
6 eggs
1 cup milk
1 cup orange juice
1/4 cup sugar
2 tsp. grated orange peel
1/2 tsp. salt
1/2 tsp. ground cinnamon
16 slices toast (we like french bread)
2 oranges, sliced

In a small bowl, combine the butter, honey and 2 tsp. cinnamon, mix well. Pour the mixture evenly into 2 ungreased 15x10x1-inch baking pans (cookie sheets).

In a medium bowl, slightly beat eggs. Add the milk, orange juice, sugar, orange peel, salt and cinnamon. Mix all the ingredients well. Dip the bread into the egg mixture and place into the baking pans. Pour any remaining egg mixture over the bread. Cover and refrigerate overnight.

In the morning, pre-heat the oven to 400 degrees. Bake the toast for 10 minutes, then flip and bake for another 10 minutes. Serve with some orange slices!

5/07/2010

7-up Biscuit


I got this recipe from Steph at an awesome site called Plain Chicken. It is a really fun site with lots of great chicken, grilling and other yummy recipes. You should check out all the ways Steph can make grilled cheese - I was completely impressed!

When I saw this recipe on her blog, I couldn't get it off my mind! Seriously, I thought about it for a couple of days and kept wanting to make it for every meal. I finally got to make them and WOW, they are great!! They only have three ingredients and they are soft, fluffy, buttery and the perfect texture. My whole family devoured them quickly. I think I want to make them tonight!

7 -Up Biscuits

2 cups Bisquick
1/2 cup sour cream
1/2 cup 7-up
1/4 cup melted butter

Cut the sour cream into the Bisquick and then add the 7-up. The dough will be really sticky and soft, just sprinkle with a little bisquick mix to make it into biscuits. Melt the butter in a 9 inch square pan (I doubled mine in a 9x13!). Place the biscuits in the pan and bake at 450 degrees until just golden.

2/08/2010

Baguette

My sister gave me this recipe the other day and told me how easy it was. If she hadn't already made it and liked it, I would have been skeptical. She told me you make it in 5 minutes, let it raise for 30 and then bake it for 15 minutes. It just seemed to easy and good to be true. I was really excited to try it!

My baguette turned out so yummy! In fact, my children were HUGE fans of it. One of them even told me it was "The best bread I have ever had." Maybe a little bit dramatic, but I will take it! We had it for dinner and then I made the kids their sandwiches on it for lunch the next day. I will for sure be making this more & I think I will be teaching my 10 year old to make it. It really is that easy!

Baguette
1 1/2 cups warm water
1 1/2 Tbs. (2 packages) dry yeast
2 tsp. sugar
3 1/4 cups flour
2 tsp. salt

Pre-heat oven to 450 degrees. In a small bowl mix 1/2 cup of the water with the yeast and 1 tsp. of sugar. Mix it well and cover with a cloth.

In a large mixing bowl combine the flour, salt and 1 tsp. sugar. When it is mixed well, add the yeast mixture. Gradually add the rest of the water. Mix until the dough becomes a smooth ball.

Remove from the bowl and knead the dough, cut in half and then shape into 2 baguettes. Take a knife and core down the middle - that makes it authentic! You can see, mine aren't too fancy.

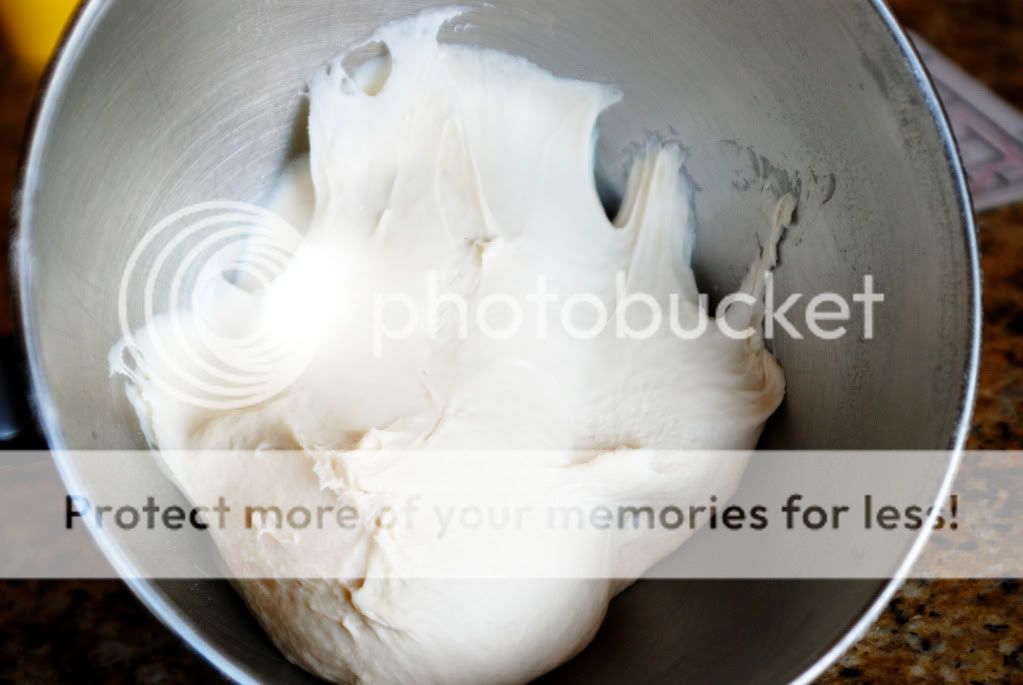
Cover and let it rise for 30 minutes.

Put water in a cookie sheet and put it on the bottom rack of the oven. Bake the bread for 15 minutes. Half way through, brush the bread with butter.


I really like the recipe for its low sugar content! You could try it with wheat flour also. Enjoy!

12/03/2009

My favorite Cornbread


I love a good piece of warm cornbread! Doesn't it sound so yummy on a cold night, with some soup or crock-pot meat. I like it best when it is almost cake-like in texture and feeling. I am not a big fan of cornbread with a real cornmeal texture. I want it to be blended in and taste moist and fluffy! This recipe is just what I like.

My favorite Cornbread

1 cup cornmeal
3 cups flour
1 1/3 cups sugar
2 Tbs. baking powder
1 tsp. salt
2/3 cup oil
6 Tbs. melted butter
4 eggs
2 1/2 cups milk

Preheat your oven to 350 degrees. Mix the cornmeal, flour, sugar, baking powder and salt together in a big bowl. Make a well in the center of the dry ingredients and add the oil, butter, eggs and milk. Stir until it is just mixed. Bake in a 9x13 pan for 35 minutes.

Eat with lots of butter and honey. Enjoy!!

9/24/2009

Zucchini muffins

I have a child who wants a piece of homemade "cake bread" for snack recess everyday at school. I was making a big batch and freezing the extra loaves, which worked great. But, then I started making them in the little muffin tins and it was so much easier! Now I make a batch of mini muffins, freeze them & then pull out a couple each day. They are thawed out by snack recess (I eat them frozen, still taste great) and you get good portion control.

I love zucchini recipes because it seems like every summer you end up with some that look like this...
That zucchini is longer than her arms! I shred the zucchini and separate it into ziplock bags with 2 cups in each. Then I freeze it and pull it out all through the year to make more bread. Can you tell how much I love my freezer?

This recipe is one of my favorites. I have pulled together and combined all the best from different zucchini breads I have tried. This one has a little taste of fall also - with cinnamon and nutmeg. You will love it!

Zucchini bread/muffins
3 eggs
1 cup oil
2 cups sugar
2 cups flour
2 cups zucchini, shredded with the peel on
1 cup sour cream
1/2 tsp. salt
1 tsp. baking powder
1 tsp. soda
1 tsp. nutmeg
1 1/2 tsp. ground cinnamon
1/2 cup nuts (optional)
1 tsp. vanilla

Combine sugar, oil eggs and sour cream. Beat in the dry ingredients and then the zucchini. Add the vanilla and nuts last and mix. Bake at 350 degrees - for the mini muffins about 10 minutes, for a bread loaf about 60 minutes or until the center is cooked through.

9/09/2009

Dinner Rolls

I love rolls. No really, love them. I could (and do) eat them all day and night. My kids too. They start eating them right off the cooking trays! I used to make them with a great recipe my mom gave me, but it called for cake yeast and had to be made the night before. I am usually going day-to-day and can only think about today! So, when I found this recipe and it tasted exactly like the other recipe, I was soooo happy!

Dinner Rolls
3 cups lukewarm water
2 packages (2 Tbsp.) dry yeast
1 cup sugar
1 cup vegetable oil
2 tsp. salt
4 eggs, beaten
8 cups flour, plus a little more
Butter to spread

Dissolve the yeast in the water in a bowl and set aside. In a different bowl mix sugar, oil, salt and eggs. Add the yeast and mix slowly. Add the flour a little at a time until the dough pulls away from the sides of the bowl. Place the dough in a greased bowl, turn over and let rise until about double.

Place the dough onto a cutting board and divide into 4 equal parts.
Roll dough out into a large square or circle. I made mine a square because that is the size of my cutting board. A square shape will give you different shape rolls, which I think is fun. If you want your rolls to be uniform in shape, go for a circle.

Soften a cube of butter and spread it out on top of the dough. You don't have to use a lot. I use approximately 1 cube for all four of my batches. But, it is a step you don't want to miss! And don't use anything but real butter! Cut the dough with a butter knife into equal amounts. I did 12 in this picture - but did 16 on the next batch. It doesn't matter!
Starting at the widest part, roll down until you have a crescent shaped roll!
Stagger them on a greased cookie sheet - they need room, they are going to raise a little bit more.
Having a helper is always good!
Aren't they pretty! They wont last long.
Let them raise for another 2-3 hours, until they are fluffy. Bake at 350 degrees for 10-12 minutes. Then devour them like we do!

6/30/2009

Coconut Custard Buns

I got this recipe from my friend Luseane, she is one of the nicest ladies I have ever met!  She is so nice, smart & she is an excellent cook.  This is probably my favorite thing she makes.  I am pretty sure she does it with homemade rolls, but I don't have the time (a little lazy) so I use frozen.  They are SOOOO yummy, honestly.  I choose to eat more rolls instead of dessert. That's how good they are.

1 bag frozen rolls (Bridgeford or Rhodes work well)
1 can coconut milk
1/2 cup sugar
1 Tbsp. flour
Shredded coconut

Spray a cookie sheet with Pam as many rolls as will fit (I fit 16 on mine).  Let the rolls raise at room temperature until about double in size.   After they have doubled, preheat the oven to 350 degrees.  Mix the can of coconut milk, sugar, flour and then pour the mixture over the rolls.  Sprinkle shredded coconut over the rolls and bake for 30 minutes.

You are going to LOVE them!


6/23/2009

Pull Aparts

This one is good, really good.  This is what I have eaten every Christmas morning since I was a little girl.  And now our family has made it a tradition for Easter and birthdays also, we can't wait to eat it!  Pete asked for this for Father's day and so we just had some again...yummy.

There are other names for this recipe, some people call it Monkey bread or sticky buns.  We call it Pull Aparts because you pull the gooey rolls apart.  But really, we should call it "Rip Aparts" because they get ripped apart so fast they are gone before you know it!  In fact, I didn't get my camera out quick enough and this is all that was left after everyone loaded their plates.

Pull Aparts

1 bag frozen rolls (about 24 rolls)
1 small vanilla non-instant pudding
1/2 cup brown sugar
1/2 cup chopped walnuts (optional, but really great!)
1 stick melted butter


Separate the frozen rolls and line them up into a greased bundt pan.  Melt the butter and pour over the rolls.  Then combine the pudding, brown sugar and nuts in a bowl.  After they are mixed, sprinkle evenly over the rolls - like the picture above.

Leave them uncovered on the counter all night long so the dough can rise.  When the rolls have risen well, bake it at 350 degrees for 30 minutes.  Invert it onto a platter and enjoy!!  
Be careful when inverting onto the platter - all the good gooey drippings come out then, so you don't want to waste any of it!  Seriously, my family watches to make sure none drips onto the counter!

6/13/2009

Banana Bread

I have been on the lookout for the perfect banana bread recipe for a long time.  I think I found it.  I think this bread is so yummy.  I started making it months ago for the kids to take in their lunch.  My little guy has this thing for what he calls "cake bread" this year.  He wants it every day & that is hard to do!  But guess what, not with this recipe!  It makes 2 loaves and 4 dozen mini muffins with one batch!  And the best thing is that it freezes well.  So, I would make it ahead of time, pull it out in the morning and it was thawed out by lunch time - and tasted like it was just baked.  Just what I need!

I knew this recipe was going to be the one for me when I saw it had the secret ingredient for all good baking - sour cream.  Anytime something has sour cream in it, I love it.  Try this for yourself!


The Best Banana Bread

1/4 cup white sugar
1 tsp. ground cinnamon
3/4 cup butter
3 cups white sugar
3 eggs
6 very ripe bananas
16 ounces (2 cups) sour cream
2 tsp. vanilla extract
2 tsp. ground cinnamon
1/2 tsp. salt
3 tsp. baking soda
4 1/2 cups all-purpose flour
1 cup chopped walnuts (optional)

Preheat the oven to 300 degrees.  Grease four loaf pans - or two loaves plus some muffin tins!  

 
In a small bowl mix together 1/4 cup white sugar and 1 tsp. cinnamon to make a nice mixture.  Dust the pans lightly with the sugar mix.  I usually dump some in the middle of the pan with a spoon and then shake the pan until it is nicely dusted like the picture above.  Do the same with the mini muffin tins.  This is what is going to give you are really yummy and kind of gooey bottom to your bread!

In a large bowl or mixer, cream the butter and 3 cups of sugar.  Then add in the eggs, bananas, sour cream, vanilla and cinnamon.  I don't even mash up the bananas first - just throw them in and mix!
Then add in the salt, baking soda and flour.  You can stir in the nuts at this point if you want some in your bread.  The mixer is full and the batter is just a little lumpy - yum!  It even tastes good as batter!  Fill your loaf pans about 3/4 the way full and then fill your muffin tins 3/4 full also.  

Bake the loaf for 1 hour and the mini muffins for 15 minutes.  You could also make regular muffins, but I haven't yet.  
These are the best.  They are the perfect size to pop right into your mouth & perfect to pop in the lunch box!